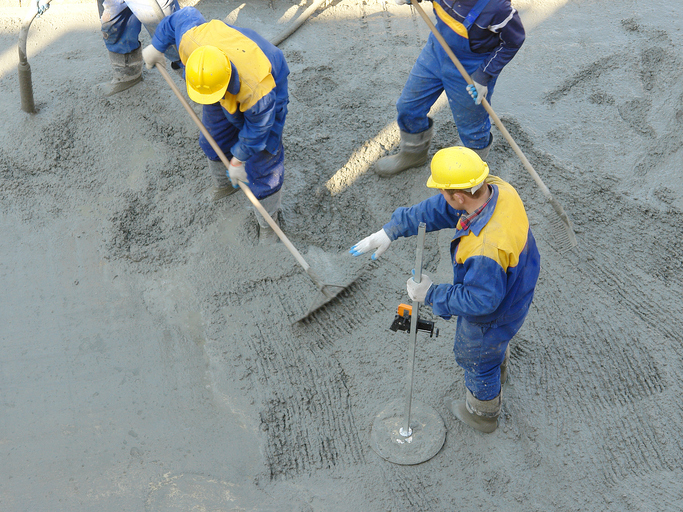
If you work with concrete, or are thinking about a career that involves working with concrete, then you have to know how to work quickly and precisely. Concrete can be a difficult material to work with, since you have pour concrete precisely and shape it before it dries. If you’ve ever wondered what it’s like to make a concrete surface, here are the basics to help you pour concrete perfectly.
Step 1: Set the Foundation
First, clear your area of any debris until only exposed earth is showing. The soil beneath the concrete is called the subgrade, and it has to be compacted to provide stability to your concrete. After compacting your subgrade, you’ll add your subbase, which is comprised of either small or large stones. The large stones allow water to flow through easily. The small stones are more compactable but also more costly. Your subbase should be 4 to 8 inches deep, then compacted with a hand tamper or plate compactor.
Step 2: Prepare a Form
A form is a wooden perimeter around the pouring site that is secured with special nails or screws. For perfectly finished concrete, you’ll need to make sure that the angles of your form are exact and that the forms have a slight slope to them to prevent water from pooling in the middle of the concrete.
Step 3: Lay Wire Mesh
Insert a wire mesh or rebar over your subbase to add stability. This is especially important for load-bearing concrete, like driveways. Adding a wire mesh also helps to prevent cracks from forming over time.
Step 4: Mix and Pour Concrete
To make your concrete, mix together Portland cement, sand, and aggregate at a ratio of 1:2:4. Then, add just enough water to the mixture to bind all the elements. After the concrete is mixed, pour it into your form until the high point is reached. You and others will spread out the concrete to fill every part of the form.
Step 5: Smooth It Out
Smoothing out the surface of your concrete takes several steps. First, move a screeding tool along the form to flatten out the wet concrete. Next, you’ll use a bull float to press down on the wet cement to compact it. This also helps the cream, or gravel-free concrete, to float to the surface. Placing a straight board at a right angle across the concrete surface, use a groover to make straight lines in the concrete every five to six feet. These lines will help the concrete to resist cracking. Finally, take a broom and gently sweep it over the surface of the concrete. This makes the surface less smooth, which helps to improve traction.
Step 5: Finishing Touches
After your concrete is totally dry, you’ll will need to cure and seal it so that it will last longer. Simply paint the surface with a concrete sealant, then allow to cure for 28 days. The sealant helps the concrete to cure as well as prevents cracks and discoloration.
ABOUT RELIABLE CONTRACTING
Reliable is dedicated to delivering quality products, displaying professionalism within the firm, seeking new opportunities for expansion and profitability, and providing an environment for individual success. If you have a commercial or residential construction project that you need taken care of, please contact Anne Arundel County’s largest site-work contractor today by calling 410-987-0313 or visiting our website. You can also follow Reliable Contracting on Facebook, Google+, LinkedIn, Pinterest, and Twitter!
Reliable Contracting Company serves the following and surrounding counties: Annapolis, Queen Anne’s, Anne Arundel, Baltimore, Baltimore City, Calvert, Caroline, Charles, Howard, Prince George, St. Mary’s, Talbot, and Washington D.C.

